
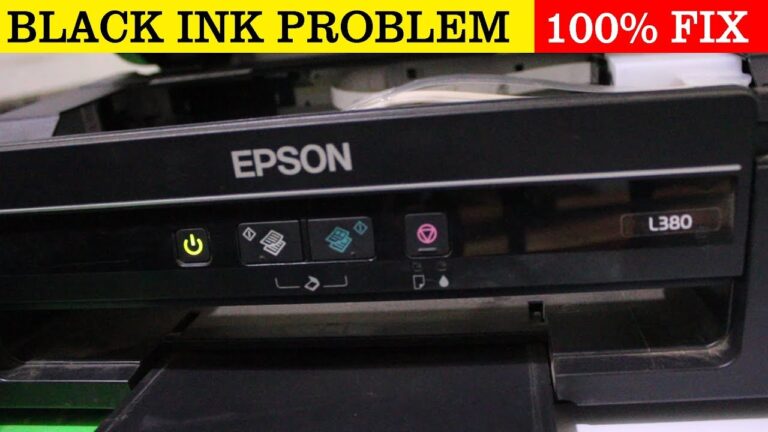
Experiencing issues with black ink not printing from your Epson printer can affect the quality of prints. Follow these comprehensive steps to troubleshoot and resolve the Epson printer not printing black problem, ensuring your Epson printer produces clear and high-quality black prints.
Common Causes of Epson Printer Not Printing Black
Several factors may contribute to an Epson printer not printing black:
- Low Ink Levels: Insufficient black ink levels can result in faded or missing black prints.
- Clogged Print Heads: Accumulation of dirt or dried ink in the black print head nozzles.
- Misaligned Cartridges: Improper alignment causing black ink misprints or streaks.
- Printer Settings: Incorrect settings affecting the black ink output.
Steps to Fix Epson Printer Not Printing Black
Step 1: Check Black Ink Levels
- Verify the black ink cartridge’s ink levels in your Epson printer. Refill or replace the cartridge if levels are low.
Step 2: Clean Print Heads
- Access the printer’s maintenance or settings menu through the control panel or software.
- Locate the option for “Head Cleaning” or “Print Head Maintenance” and initiate the cleaning process for the black ink.
Step 3: Align Cartridges
- Navigate to the printer settings menu and find the option for “Cartridge Alignment” or “Align Printer.”
- Follow the on-screen prompts to align cartridges properly for improved black ink alignment.
Step 4: Perform Printer Test Page
- Access the printer’s settings or control panel and print a test page.
- Inspect the test page for any issues related to black ink, such as streaks, faded text, or misalignments.
Step 5: Check Printer Settings
- Ensure print settings such as grayscale mode or black ink preference are correctly configured.
Step 6: Replace Black Ink Cartridge
- If the ink levels are sufficient but the black ink still doesn’t print, replace the black ink cartridge with a new one.
By following these detailed steps, you can effectively troubleshoot and resolve the Epson printer not printing black ink issue. These methods aim to address common causes such as low ink levels, print head cleanliness, cartridge alignment, settings adjustments, and component replacements, ensuring your Epson printer produces clear and high-quality black prints.
Resetting Your Epson Printer: Step-Wise Methods
Resetting your Epson printer can help resolve various issues and restore it to its default settings. Follow these detailed steps to perform a reset on your Epson printer.
Methods to Reset Epson Printer
Method 1: Soft Reset
- Turn Off the Printer: Ensure the printer is powered on. Press the power button to turn it off.
- Disconnect Power Cord: Unplug the printer’s power cord from the power outlet.
- Wait for a Few Minutes: Allow the printer to sit unplugged for at least 5-10 minutes.
- Reconnect and Power On: Plug the power cord back into the outlet. Power on the printer.
Method 2: Hard Reset
- Ensure Printer Is Off: Turn off the printer using the power button.
- Press Specific Buttons: Depending on your Epson printer model, locate and press the combination of buttons. Common combinations include holding down the “Stop,” “Maintenance,” or “Paper” button while pressing the power button. Refer to your printer’s manual for the correct button combination.
- Hold Until Reset: Hold the buttons down for about 5-10 seconds until the printer begins to reset. Release the buttons.
Method 3: Factory Reset via Control Panel
- Access Control Panel: Navigate to your printer’s control panel.
- Settings or Maintenance Menu: Look for the “Settings” or “Maintenance” menu.
- Factory Reset Option: Find and select the “Restore Default Settings” or “Factory Reset” option.
- Confirm Reset: Follow the on-screen prompts to confirm the reset process. Enter any required passwords or confirmation codes.
Method 4: Software Reset using Epson Software
- Install Epson Software: Download and install the Epson printer software on your computer.
- Run Software Utility: Open the Epson printer utility or software.
- Find Reset Option: Locate the reset or factory reset option within the software interface.
- Initiate Reset: Follow the software prompts to initiate the reset process. Confirm when prompted.
Note: Ensure there are no active print jobs or pending tasks before performing a reset. It’s advisable to backup or note down any customized settings before resetting as it may revert settings to default.
By following these methods, you can effectively perform How to reset Epson printer. Resetting the printer can help resolve various issues, restore default settings, and potentially resolve operational problems.
I am ashlywilson and work for various company as a freelancer